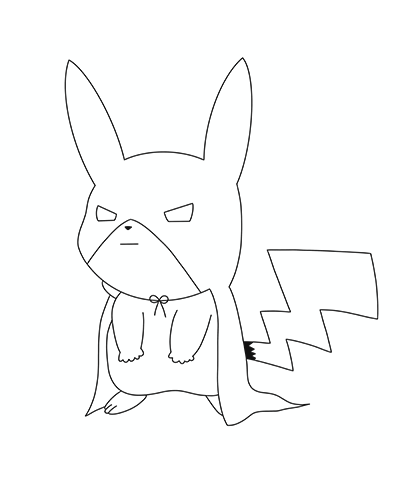
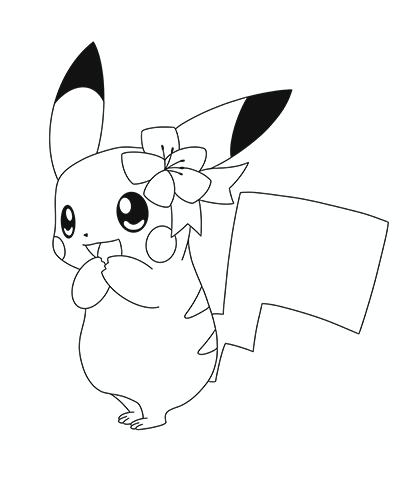
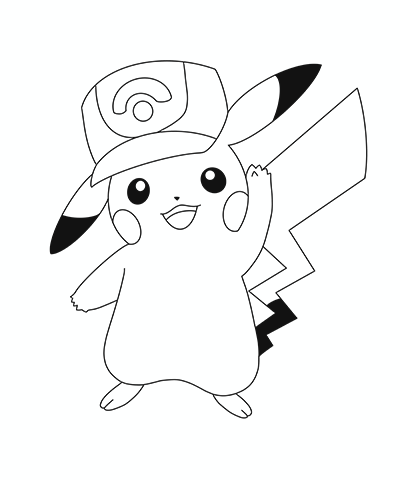
It’s time to embark on a journey of adventure and creativity, have you pencil and pad at the ready. Follow the free step-by-step instructions which will show you how to create your own traveller Pikachu. Get drawing with this tutorial.

Step 1. Traveller Pikachu Drawing Tutorial
Start by drawing two small circles and one large oval, these will make the head and base of the body. Mark a line for the tail.

Step 2
Use lines as guides for the ears, arms and feet. Sketch the torso using the smaller circles. Draw another circle for the bag and the mouth.

Step 3
Start to create an outline for Pikachu by drawing the ears, face and body. Draw the eyes and mouth open wide. Add a small nose.

Step 4
Draw some of the basic traveller details including the strap on the bag and leaf outline. Add more details for the hands, feet and face.

Step 5
Work on the smaller details, focusing on the explorer hat, leaf and bag design.

Step 6
To finish go over the outline with a pen and erase any guidelines.


