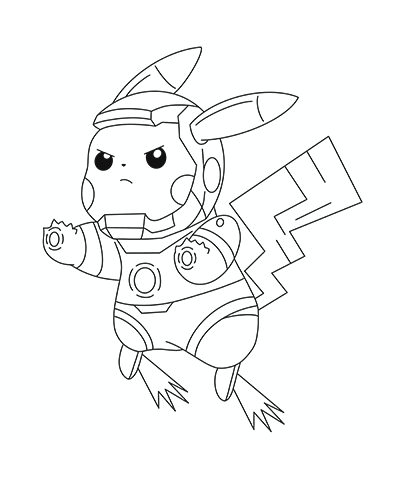
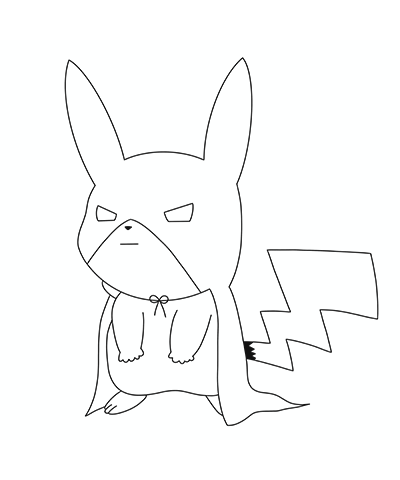
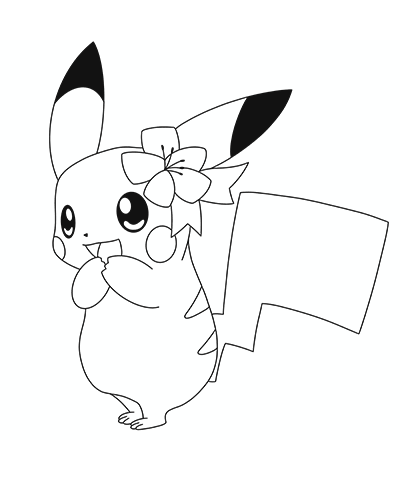
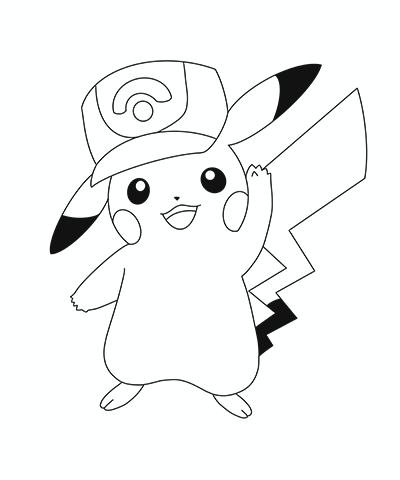
Whether you are novice or expert drawer this tutorial is perfect for any Pokémon fan. Create a stomping picture of Pikachu using an iron tail by following this easy step-by-step tutorial. It’s free to follow along so get started now. So, let’s learn how to draw Pikachu using iron tail.
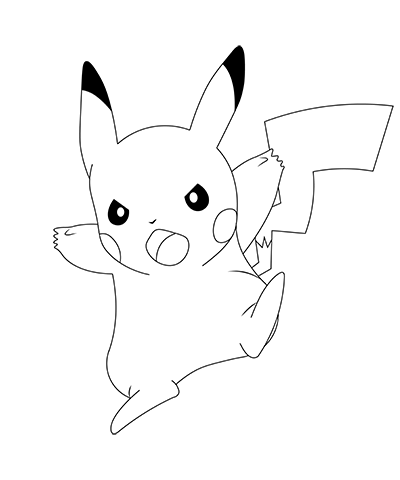
Step 1. How to Draw Pikachu Using Iron Tail
Begin by drawing a large oval for Pikachu’s head. Draw two small circles lower down for the base of his body. Use lines to mark where his ears and the centre of his face will be.

Step 2
Sketch in Pikachu’s eyes and the side of his face. Use lines to mark his feet and the base of his body.

Step 3
Now you can complete the outline, draw in the ears, arms and torso. You can continue to add facial features including the mouth and pupils. Use a zig-zag line to start the tail and mark off the top of the ears.

Step 4
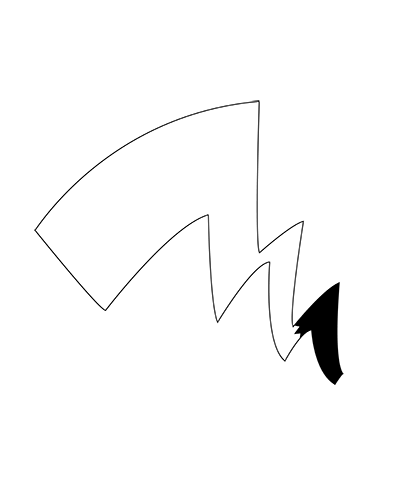
Draw the final details, sketch Pikachu’s fingers and feet. Use curved lines for his mouth and cheeks. Complete the tail by adding markings to the base.

Final Step 5
Finish the picture by going over the outline in pen. You can erase any guidelines.


